Rubik’s Cube is a fun intellectual game that has many enthusiasts. There are different ways to solve this fantastic cube; some are simple and basic, and some are advanced and difficult. In this article, we will teach you the easiest way to solve the Rubik’s cube. With some precision and enough practice, you can become proficient in this method and solve the Rubik’s cube in just two or even 1 minute.
Getting to know the Rubik’s Cube
Before the video tutorial on how to solve the Rubik’s cube, you should familiarize yourself with some basic principles and the structure of this cube. Rubik’s cube has three layers and six faces. These six faces are characterized by green, red, blue, orange, yellow, and white colors. Yellow and white, orange and red, and green and blue colors are always opposite.
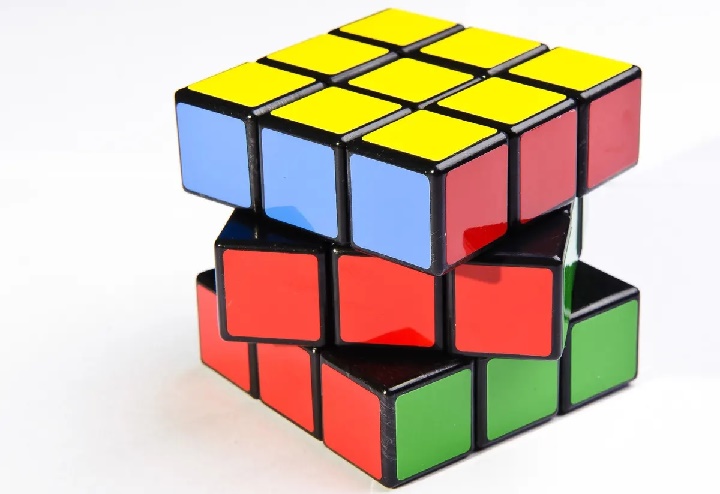
In the center of each face is a piece that has one color and can only rotate in place. The position of this piece cannot be changed and is permanently fixed in place. The color of this part determines the color of other parts of the face. That is, if the central piece is a white face, white pieces should be placed around it. The main elements form the basic structure of the cube, and the edge pieces of the cube, which are 12 in number, have two colors on both sides. There are eight corner pieces of the cube, each with three levels with different colors.
Rubik’s Cube algorithms
To solve the Rubik’s cube, we must use formulas or algorithms. Each algorithm is a specific sequence of movements that must be performed in order. In this simple and primary method of solving the 3×3 Rubik’s cube, you only need to learn seven or more algorithms. In more advanced techniques like CFOP, where the cube can be solved faster, you must maintain up to 78 different algorithms. So it’s better to learn this simple method first, then learn more advanced techniques if you want to quickly solve the Rubik’s cube in less than 1 or 2 minutes.
Getting to know the letters of the Rubik’s cube
Before learning algorithms, you should get familiar with Rubik’s cube notation. Rubik’s cube consists of an up face, front face, right face, left face, down look, and back face.
What color you consider for the top or bottom face is up to you. Don’t worry about the sides for now; we’ll get to them later. Here, we consider the red color as the bottom face. Therefore, all the red pieces should be placed on the bottom side, and all the orange details should be placed on the top. After selecting the red color as the bottom face, the red cube must be at the bottom in all solving steps. It is better to use the same colors the next time you solve the Rubik’s cube because it makes it easier to recognize the patterns.
There are letters and symbols for the different directions of turning each face. You can rotate any face clockwise or counterclockwise. The order of rotation of each face is determined by its position relative to you. To simplify the work, we call each facet with an abbreviation related to its location, that is:
- Up face: U
- Down face: D
- Front face: F
- Back face: B
- Right face: R
- Left face: L
We denote the movement of the upper face in the clockwise direction with U. So turn the U ie, the top face, clockwise. We also show the sign of the upper face counter-clockwise with U’. U means turn the upper face one-quarter of a complete turn clockwise, and U’ means turn the upper face one-quarter of a full turn counterclockwise. The same is true for other faces of the cube, that is:
- Clockwise rotation of the front face: F
- Counter-clockwise rotation of the front face: ‘F
- Clockwise rotation of the right side: R
- counterclockwise process of the right look: ‘R
- Left side rotation clockwise: L
- counterclockwise cycle of the left side: ‘L
- Clockwise rotation of the lower face: D
- Counter-clockwise rotation of the lower face: ‘D
- Turning the back face clockwise: B
- Counter-clockwise rotation of the rear face: ‘B
Don’t forget that clockwise or counterclockwise depends on the angle you look at that face. So when you turn a face, you can imagine a clock on it so that you can easily remember which way to turn the face.
In solving the Rubik’s cube, we primarily use the right, top, left, and front faces. Therefore, you should be more familiar with the following two groups of letters, respectively equivalent to “clockwise rotation” and “counter-clockwise rotation.” Before starting, you should familiarize yourself with these letters and their meanings:
- U L R F
- ‘U’ L’ R’ F
After getting acquainted with these tips and preparations, it is time to learn how to solve the Rubik’s cube.
Steps to solve the Rubik’s cube
The first layer
First, we need to place four pieces of red border above and around the orange square (like an orange flower with red petals). Examine the cube and find the red edge pieces. Then, place them above and next to the central orange work. If the red-edged article is on the right side, rotate this face so that the red edge is next to the middle orange article. But if its red surface is on the wrong side and it is not placed next to the orange work by turning the face, first turn the two bottom layers, and then by turning the right side, place the red side of the desired amount next to the orange slice in the middle.
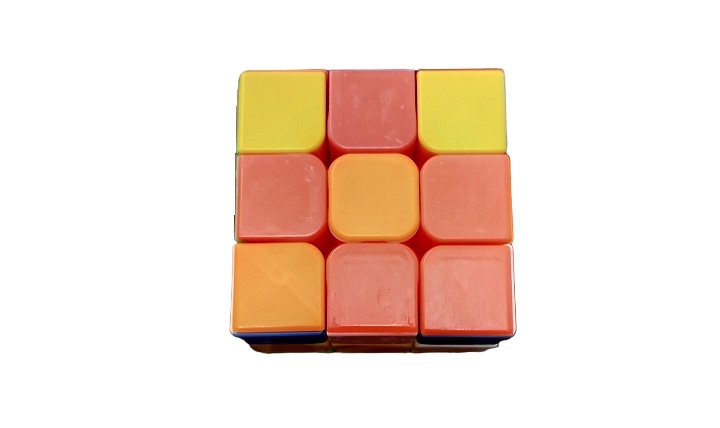
After forming a flower with an orange center and red petals, you must match the color of the adjacent surfaces of the red edge pieces with the color of the center of the side faces. After harmonizing the color of the edge piece with the center of each face, rotate that to 180 degrees. Do this for all the side faces.
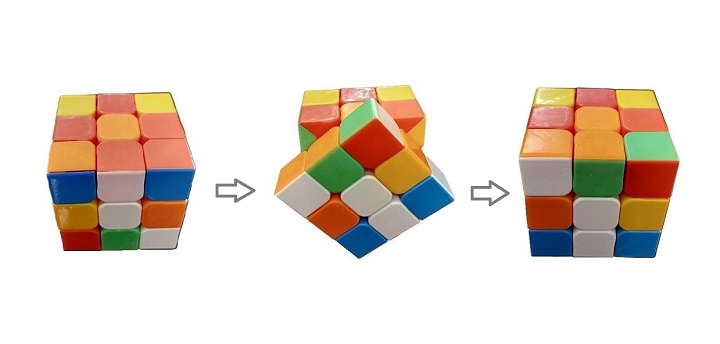
Then, turn the cube over and take a look. All the pieces with the red border must be in their correct place.
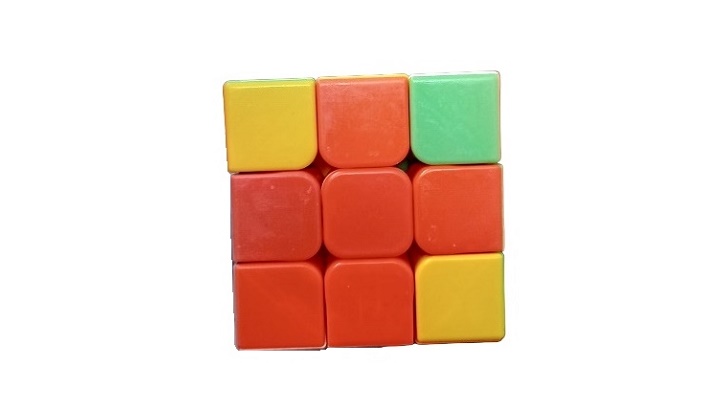
Turn the cube over and keep the red face down until you finish solving the Rubik’s cube. If you are familiar with the Rubik’s Cube, you can make the red cross without starting with the opposite side, the orange side. Forming a red flower with an orange center only makes it easier for beginners, and you can skip this step as you progress in solving the Rubik’s Cube.
The next step is to place the red corner pieces in their respective places. There are eight corner pieces (4 on the third layer and four on the first layer) that need to be moved to be in the correct position. Some of the red corners are on the bottom face and need to be transferred to the top look so you can move them to their proper place on the first layer. Some of the red corners in the third or upper layer are face-up; that is, their red surface is facing up. This is a problem that we will solve later.
First, look for red corners on the top layer where the red color is on the right or left side of the piece. We know these pieces do not belong to the third layer and should be moved down to their original place. For this, you need to pay attention to which side the red color of the piece is on because you need to turn the third layer in the same direction. Also, pay attention to the other two colors of the work, as the third layer must be rotated enough to pass through the two centers corresponding to those colors. For example, if one side of the corner piece is red and the other two sides are yellow and blue, you must rotate that layer to pass through the yellow and blue faces.
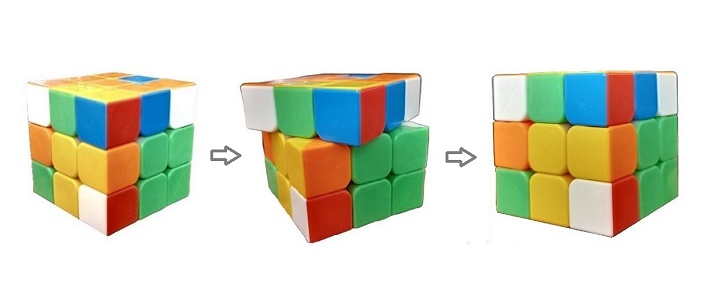
Then, pay attention to where the right place is according to the colors of the desired corner piece. Place the corner piece in its proper place by turning the face corresponding to the position where the corner piece should be placed upwards and then turning the third layer towards that face. Then, by returning the side face to its place, the corner piece is put in the right place.
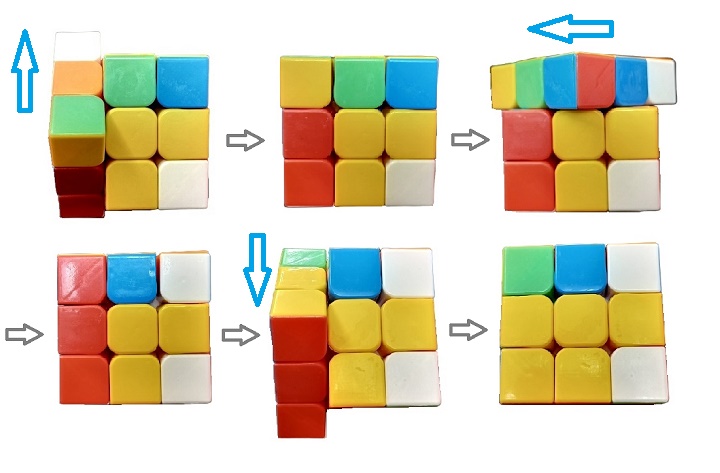
To move the corners whose upper side is red, you must rotate the third or upper layer so that the red color of the desired piece is transferred from the top to its right or left side. Then, do the above steps to move the corner piece to its proper place in the first layer. By doing these steps, the red face should be completed, and all the red details should be placed correctly.
The second layer
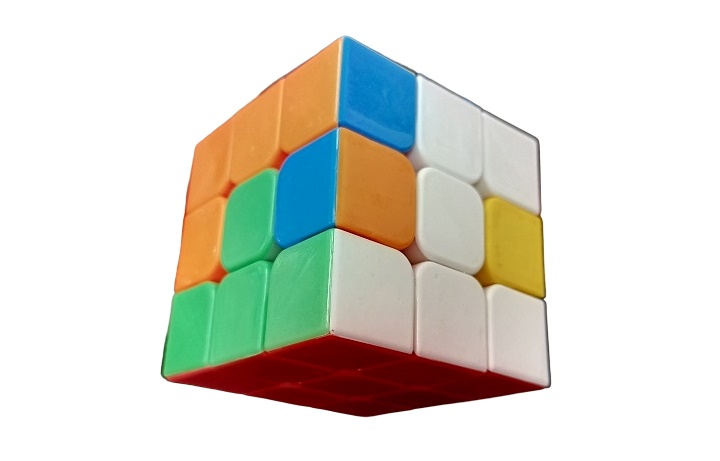
After completing the first layer, you should go to the second layer. Since we don’t want to mess up what we did in the first layer, we must use algorithms. The central pieces of the second layer are in place, and we only need to move the four edge pieces to their original position.
The easiest way to start is to look for an edge piece in the top layer that doesn’t belong to that layer. We know that all the details on the top layer must be orange, so we need to move the parts that are not orange to the second layer. First, match the color of the side surface of the edge piece in the third layer that you want to move with the color of the central part, and then run the appropriate algorithm.
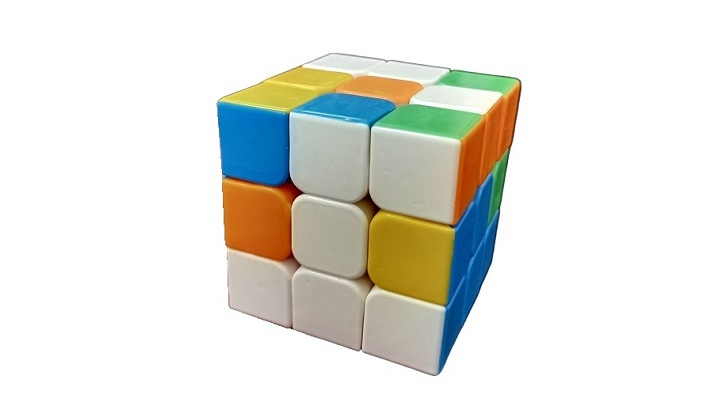
For example, if this piece is white and blue and the side surface is white, we rotate the third layer so that the white surface of the work is on top of the central white work (as in the picture above). The color of the top surface of this piece determines which way it should turn to fit into place. For example, in the image above, the white and blue edge piece should be turned to the right. Use the URU’R’ U’F’UF algorithm to move the edge piece to the right, and use the ‘U’L’UL UF U’F’ algorithm to move it to the left.
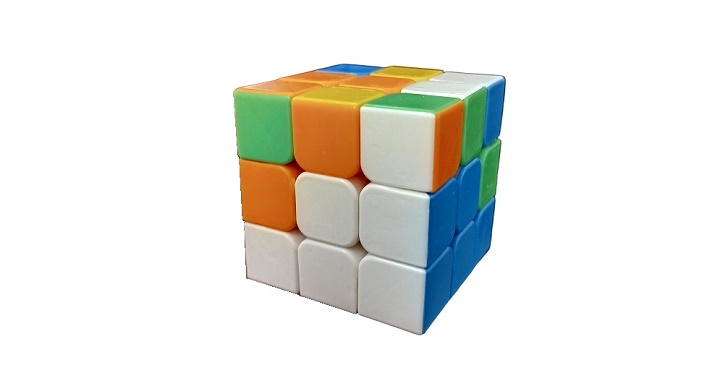
Sometimes, we find ourselves in a situation where the edge piece is not placed in the right place in the second layer, and its colors do not match with the center of its side faces; for example, the blue surface of the edge piece is next to the yellow central part, and its yellow surface is next to the blue center.
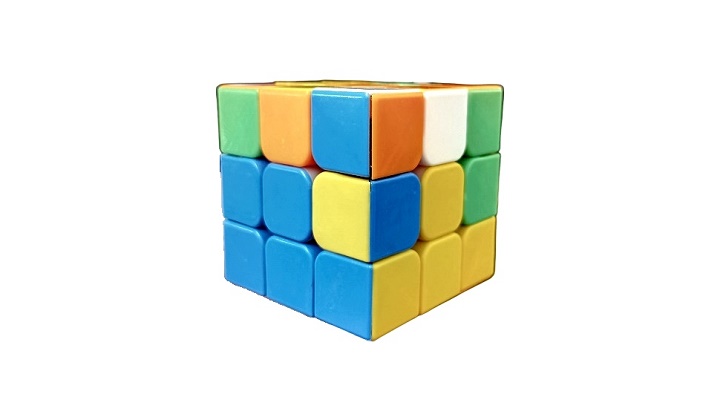
In this case, you must first run the URU’R’ U’F’UF algorithm so that the piece in question goes to the third layer, then perform one of the above algorithms based on whether it should rotate to the right or left.
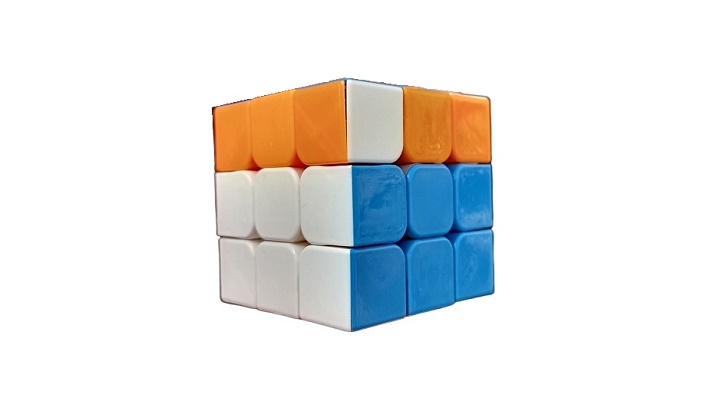
After completing these steps, all the pieces of the second layer should be appropriately placed.
The third layer
The third layer is the most challenging part of the job because it is more difficult to complete than the previous two. Of course, this is entirely logical. The closer you get to finishing the Rubik’s Cube, the more challenging the algorithms become, as you only have to move certain pieces and not mess up the details you’ve already put in their proper place.
It would be best if you placed all the orange pieces face up. First, you must run the “cross algorithm” to create an orange cross on top of the cube. If you have an orange edge piece at the top, place it on the right side before doing the algorithm.
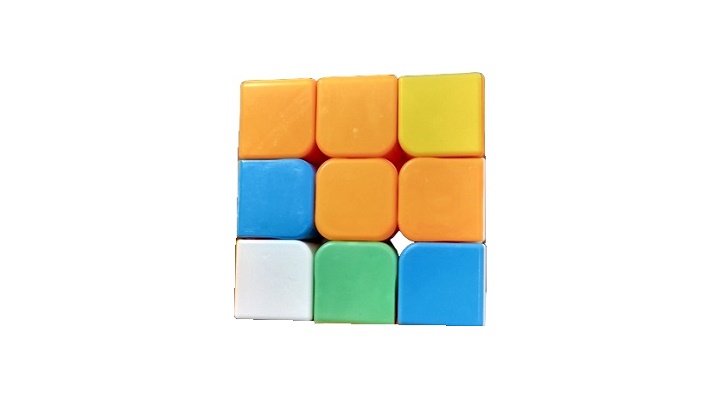
The algorithm we use here is ‘FRU R’U’F. After running the algorithm, you will have an orange line in the center.
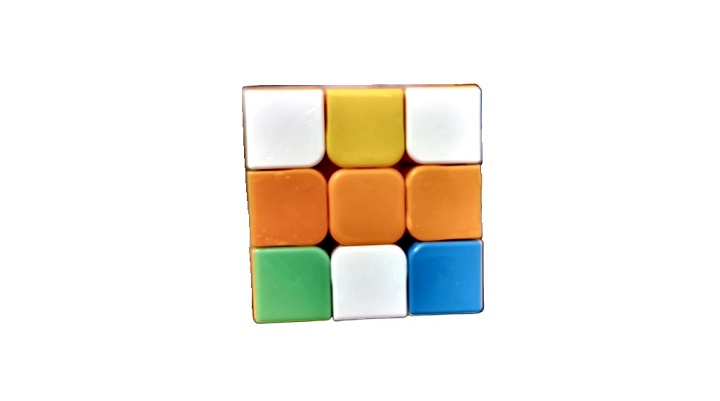
Rotate the cube so that this line is horizontal, and then repeat the ‘FRU R’U’F algorithm. Finally, you will have an orange cross.
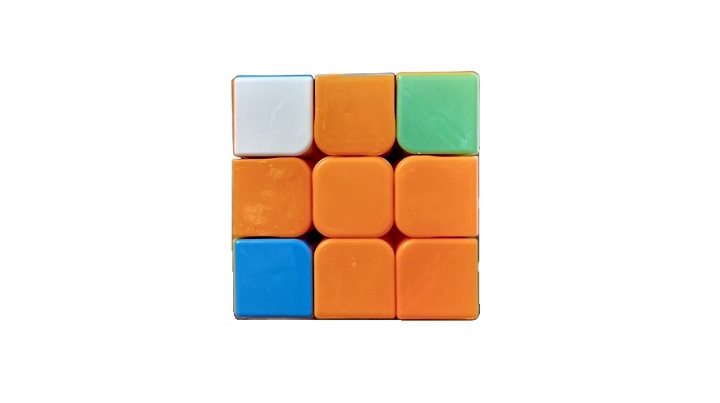
Of course, we have to give explanations. There are many possible modes for the color orange to be placed on top. Just make sure that you have to put one of the orange squares on the right side and then run the algorithm. If there is no orange edge at the top, do the algorithm in any direction. Finally, by performing the algorithm, you will have an orange advantage that you can place on the right side of the upper face of the cube and rerun the algorithm to reach the orange cross.
After creating the orange cross, you should go to the following algorithm, which is called the corner rotation algorithm, and it is R’ U2 RU R’ UR. By performing this algorithm, three corner pieces rotate clockwise. The corner at the bottom and right side of the top face does not turn. The goal is to get all the orange levels up. (You need to run this algorithm several times until all the orange groups face up.) After doing this, go to the corner pieces of the top layer.
First, check whether any corner piece is in its proper place. If so, place it on the side away from you.
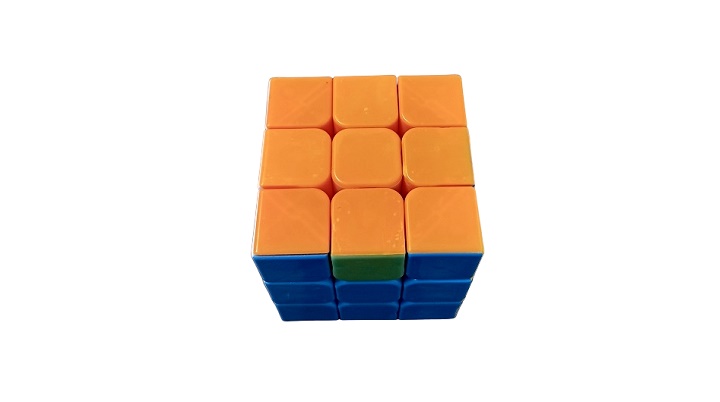
The R’ F R’ B2 R F’ R’ B2 R2 algorithm swaps the two pieces of the corners close to you and does not change the location of the other two corners. If all the corners are not in the right place, you need to do this algorithm several times. (After performing the algorithm each time, if necessary, rotate the upper layer so that the corners are in their respective places.)
Once all the corners are in place, you need to move on to the edge pieces of the third layer.
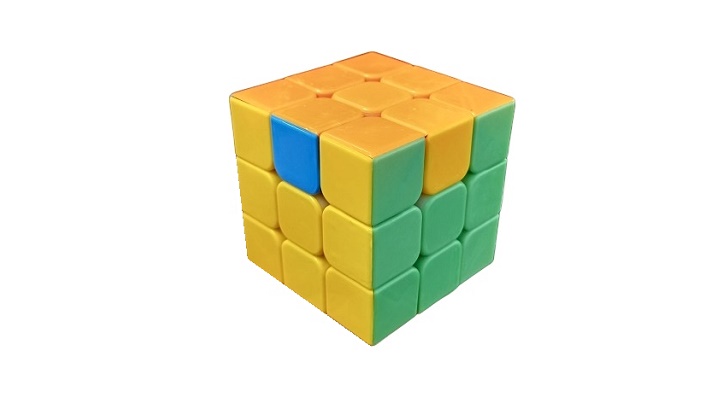
If one of the edges is in the right place, place it in the opposite direction and away from you.
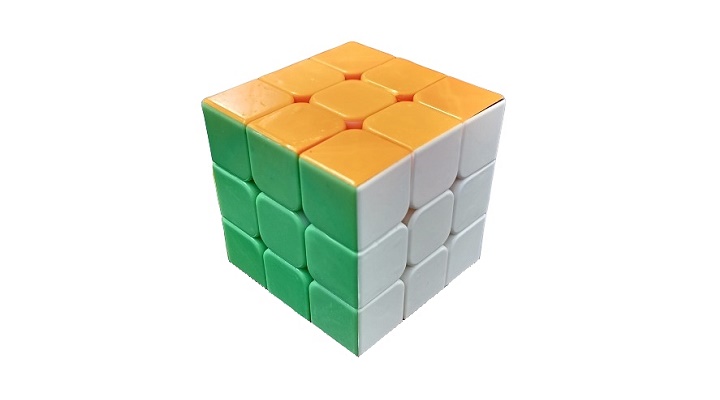
If you don’t have such a piece, do this algorithm facing any side face you want. This algorithm rotates the three parts of the edge near you and is R U’ RU RU RU’ R’ U’ R2. After running this algorithm, your Rubik’s cube will be complete, and all the pieces will be in place.
Final remarks
After some practice, you won’t even remember the algorithms anymore, and you will perform the movements automatically. But before reaching this stage, write down the algorithms and perform the activities according to them. You won’t be very fast the first few times, which is good because one wrong turn on the third layer will force you to start all over again. Therefore, be careful in making rotations, and don’t try to solve the cube quickly on the first attempt. After solving the Rubik’s cube three or four times, you will become more familiar with its steps, and your speed will increase. After solving the cube 20 times, you can do it in a few minutes. The more you practice, the easier it will be for you to solve the cube.
